
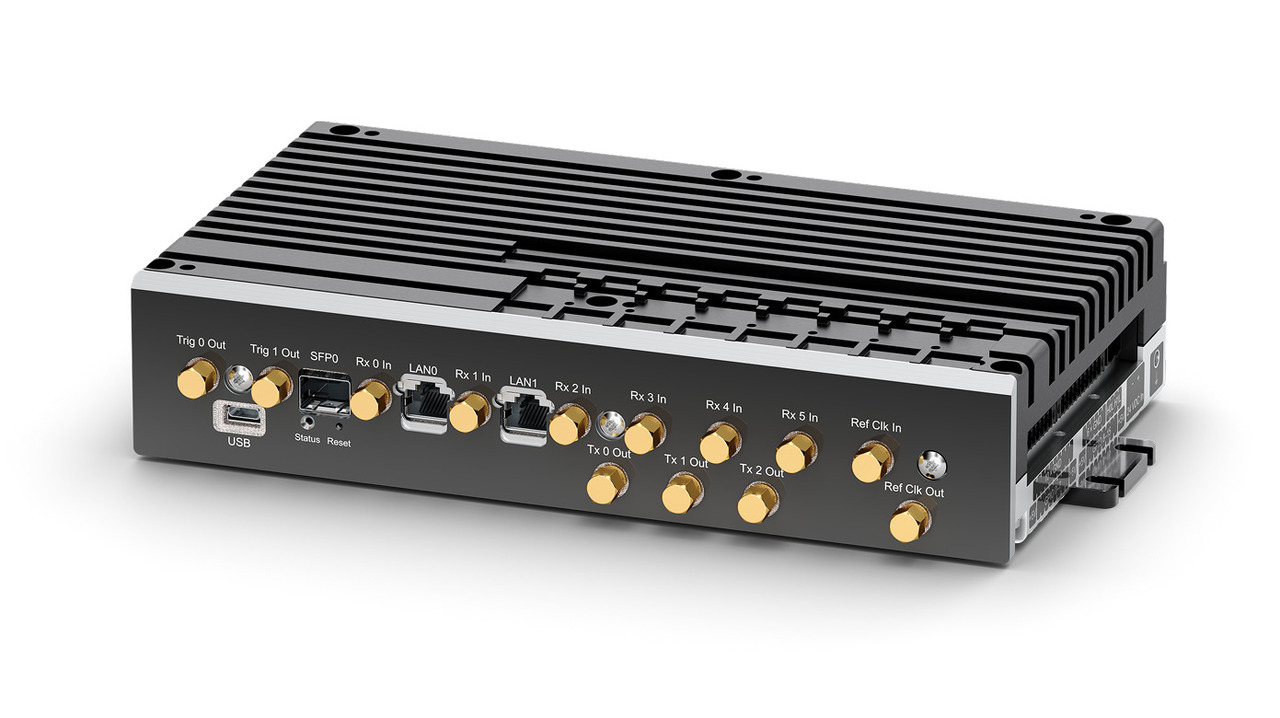
Configuring RVP10 digital front-end
You can use the dspx tool to configure the RVP10 digital front-end.
You can do this at any time. The following procedure is for first-time setups.
 |
Sometimes it is useful to run plot commands with samples from the IF-Input of the IFDR, rather than from the Burst-Input. Press % to toggle between the IF input SMA connectors on the IFDR. |
- Use Burst pulse and AFC setting to set the systems intermediate frequency.
- Use General trigger setups to choose the PRF and pulse width. Also, choose the range resolution, as it may constrain the design of the digital filters later.
-
Use Triggers for Pulsewidth n to set the relative timing of the
RVP10 triggers used by the radar.
Initially, you do not need to set the exact values of the trigger start times. Set their polarity and width, and their start times relative to each other.
If you are using the bandpass filter, make an initial estimate of FIR filter length as 1.5 times the pulse width.
If you are using a matched filter, set the pulse length value to capture the entire burst pulse width, but without extra time spacing. The ideal matched filter bandwidth and resulting filter coefficients will be computed from the length of the burst pulse value.
-
Use Plot Burst pulse timing to slew the start times of all
triggers so that the burst pulse is properly sampled.
Refine the impulse response length if necessary so that all samples easily fit within the display window.
-
Use Plot burst spectra and AFC to design the passband FIR
filter, or, in the case of a matched filter, to select a windowing function.
-
Continue using Plot burst spectra and AFC and Burst
pulse and AFC to tune the AFC feedback loop.
The settings that work for one pulse width should also work for the others.
- Use Plotting receiver waveforms to verify that targets are being detected with good sensitivity.
- Repeat the procedure for each pulse width supported by the radar.