Invoking Overlay

  1. Invoke the Overlay utility by typing: overlay&

    Overlay starts as a default with an empty window on your workstation.

    Settings from your previous session are still valid when you restart.

  2. Open an overlay (.ovr) file from the /etc/vaisala/irisrda/overlay directory.
  3. To see the latitude and longitude of your cursor, select File > Display Lat Lon.

    You can move your cursor around your map with the mouse. To find a precise point, use the arrow buttons of the keyboard to move pixel by pixel.

  4. To define the mode to show latitude and longitude, select File > Lat Lon Units.

    You can display the values as degrees and decimals or degrees, minutes and their decimals.

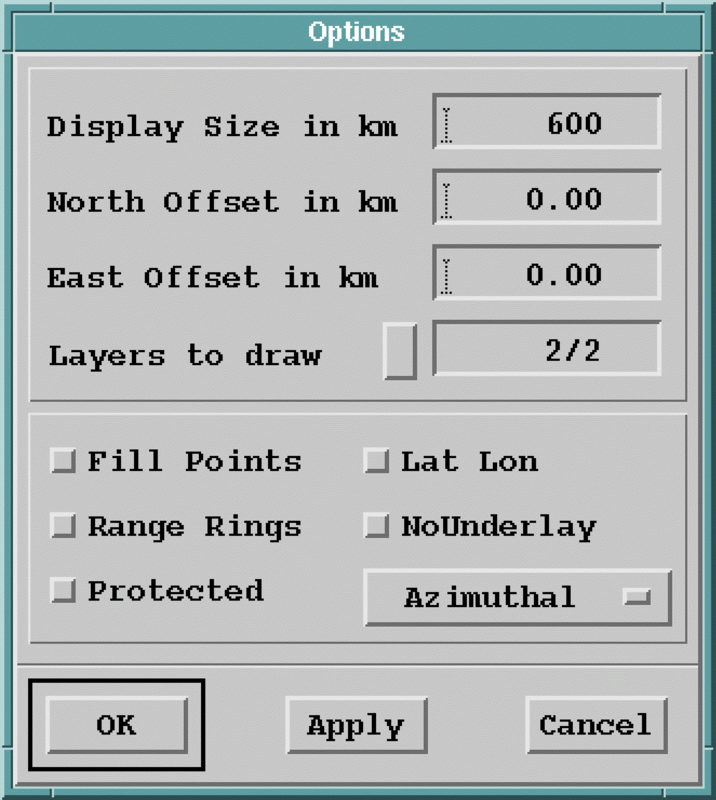
  5. To define the map display, select File > Options.

    The Options window is shown.

    1. In the top pane, define the following:
      Display size in km
      Defines the horizontal size of the map in km.
      North/East offset in km
      Move around your original map and create subareas.
      Layers to draw
      Defines if you want to work with all of your map layers or only a subset.
    2. In the bottom pane, define the following:
      Fill points
      Indicate the areas, typically lakes, you want to be colored with a certain color.
      Range Rings
      Centered at a predefined point, typically a radar site
      Protected
      The areas you use with the WARN product
      Lat Lon
      Displays a latitude-longitude grid
      NoUnderlay
      Do not use an underlay.
    3. Select the map projection.

      Typically, Azimuthal is used in one–radar applications, Mercator in composites in the tropical areas and Polar Stereographic in the composites near the poles.

  6. To create or modify a layer, select File > Add/Modify Layer.

    Everything you add to an overlay goes to a layer. You can add or delete text, icons and fill points. You can also select a "pointer" which gives you position of you cursor.
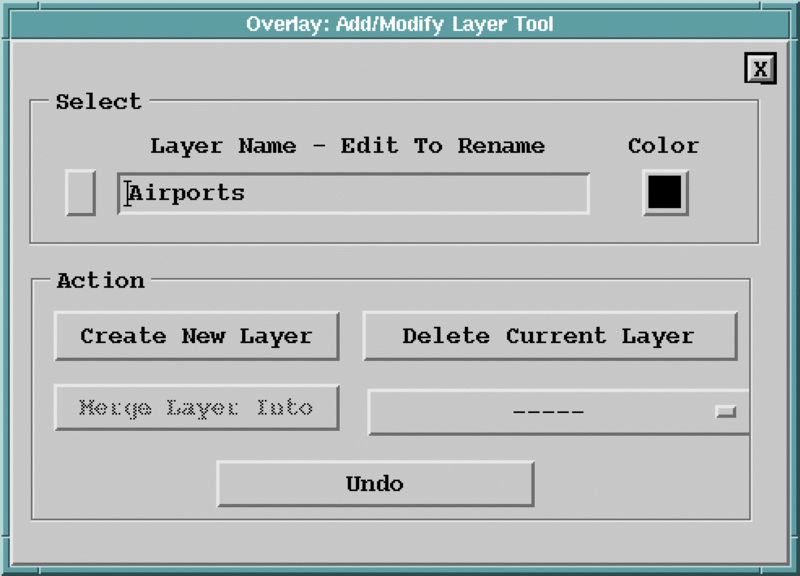
    1. Assign each layer a color from a predefined set, shown in a box next to the layer name.

      To define more colors, use the Color utility.

    2. To add content to a new or existing layer, select Create New Layer.

      The Add/Delete Tool appears.
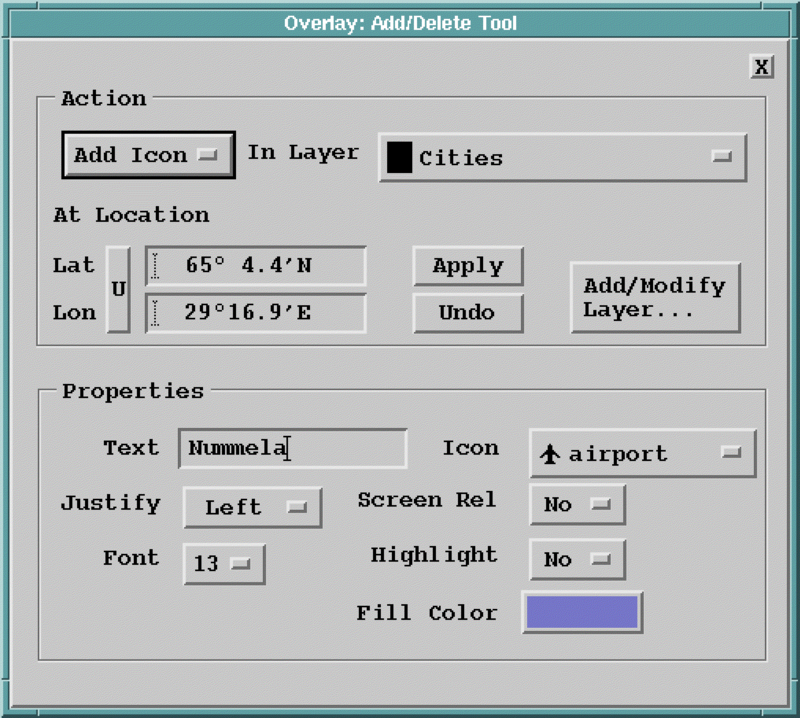
      • To add icons, you must include a text next to the icon.

        When you use icons, Vaisala recommends that you justify them right or left, because the icon goes to the point and the text should be next to the icon. You can highlight the text to give it a colored background.

      • When adding text, most users want to justify text to center, so that the point shown with latitude and longitude in the upper column is under the middle character of your text.
    3. To merge 2 layers, in the Add/Modify Layer window, select target layer and – – –.
    4. To prevent the filled color from leaking around the edge of the overlay limits, use the RANGE command to tell Overlay how far you have drawn your overlay.
    5. Define your underlay fill points.

      Fill points are used to make an underlay. An underlay can contain up to 400 fill points. Overlay starts from each of the specified fill points and fills all contiguous areas, stopping at overlay lines.

      You can enter many fill points for the same filled region. In fact, this is required for a coastline with deep bays, so that the region fills correctly at all scales. Many overlays contain coastline and use a blue underlay for ocean.

    6. To delete items from a map, select a Kill option.

      When you select a Kill option, your cursor becomes a killer tool and you can delete items from the map by pointing and clicking them. There is a separate kill tool for text, icons and fill points to minimize the risk you kill something you didn't want to kill. If you can't kill what you want, you are probably working with a wrong layer.

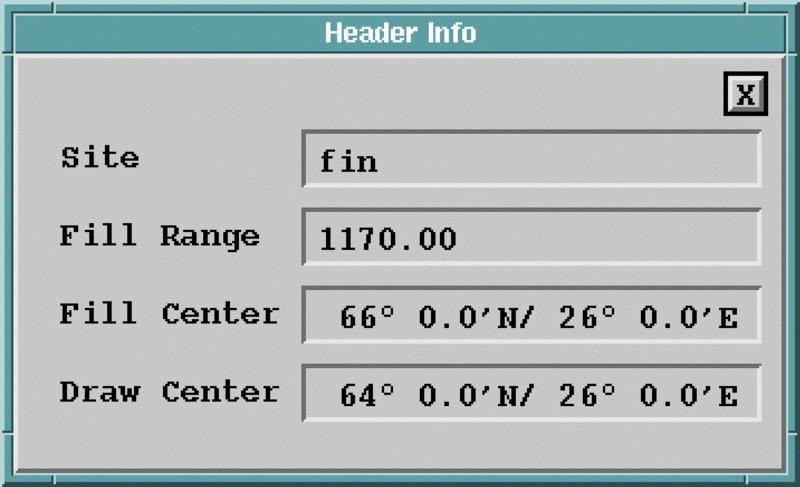
  7. Select Header to check the overlay file header.