
Using Drawing Tools
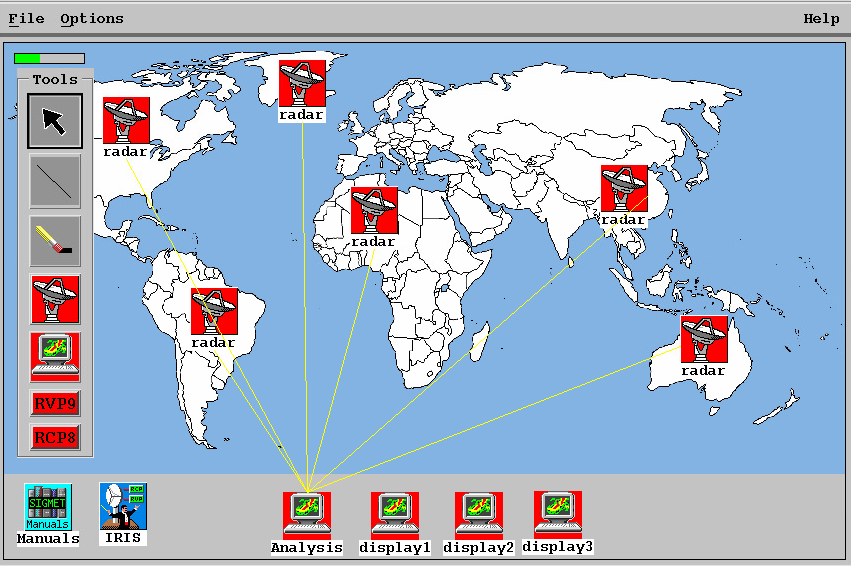
IRISnet drawing tools allow you to draw and save your network block diagram.
 | You must have
radarop privileges to change the IRISnet menu. |
- Collect information from you system manager on the names of network nodes, what nodes are running IRIS, and so on.
-
Select .

Select left or right to define if the tool bar is displayed on the left side or the right side of IRISnet. -
To add nodes:
- Select the tool icon for either a radar site icon or an analysis/display site icon.
- Move your cursor to the menu and click to plant the icon.
- To position an icon, use click and drag (dragging is only available if the tool bar is displayed).
-
To name or re-name network nodes:
Vaisala recommends that you set the Alias Name to something logical like a radar location or a workstation function and that the host name is the same.
You can alias hostnames as well in the Unix network configuration. Check with your network manager if you want to alias an un-friendly hostname such as
xnrf0327to something more recognizable such asBOS_Radar. -
To connect the network nodes:
After you have made connections between nodes, you can still move them. The node lines "rubber–band". - If you make a mistake or want to remove a node or a line, select the eraser tool and then select the object to delete.
-
IRIS provides tools for customizing your control display with a background image. If
you wish to use a background image:
- You can monitor other computers in your network, even if they do not run IRIS. They are shown as red or yellow, indicating if they are connected to the network.
- To save your work, select .