
Partitioning the destination disk automatically
-
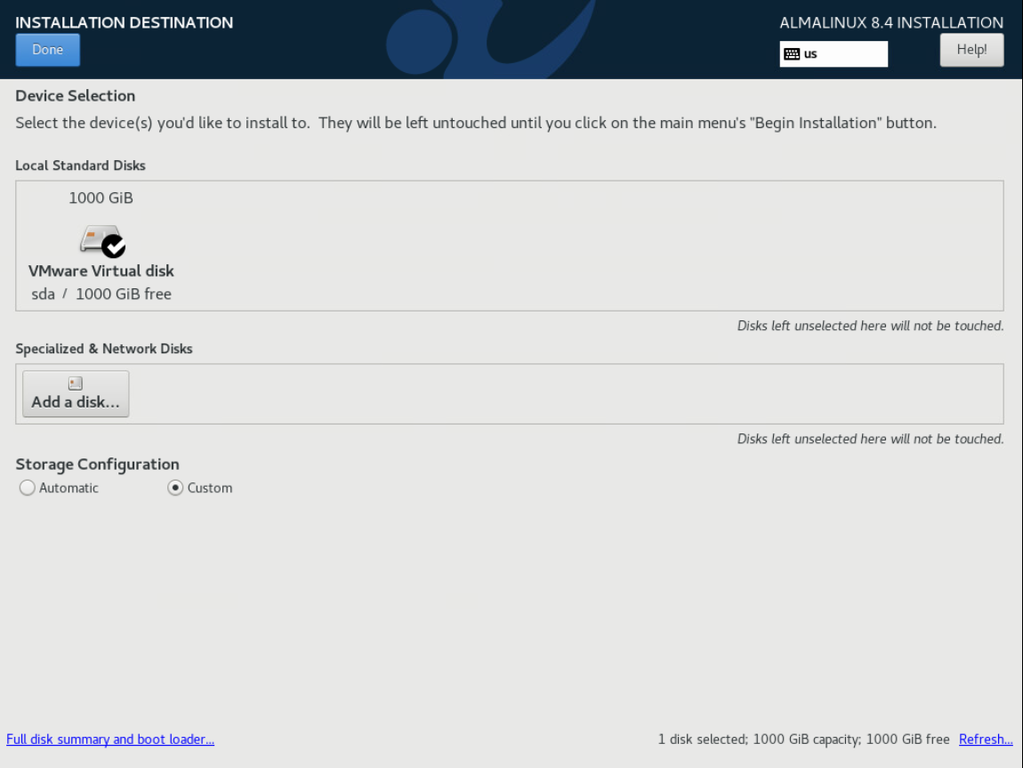
In INSTALLATION DESTINATION, start manual partitioning:
- Select the hard disk.
- Select Select Storage Configuration, Custom.
- Select Done.
-
Select Click here to create them automatically.
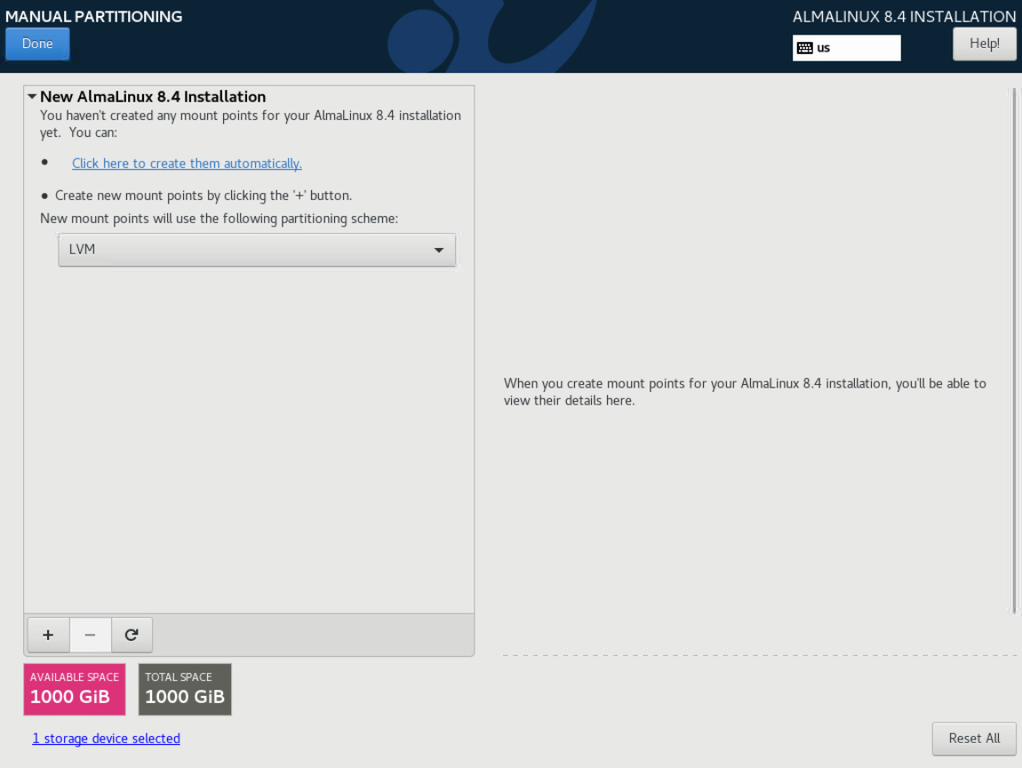
After creating the automatic partitions, you need to modify the partition manually in the next steps.
-
Modify the /home partition.
- Select the /home partition.
- Under Desired Capacity, set the size of the home partition (/home) to 50 GiB.
- Set the File System to ext4.
- Select Update Settings.
-
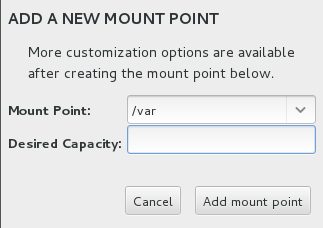
Create the /var partition:
-
Select the plus (+) icon.
The ADD A NEW MOUNT POINT dialog appears.
-
Select the plus (+) icon.
-
Select /boot.
- Under Desired Capacity, set the size of the /boot partition by typing 500 MiB.
- Select Update Settings.
-
Select /.
- Under Desired Capacity, set the size of the root partition (/) by typing 50 GiB.
- Select Update Settings.
-
Select swap.
- Under Desired Capacity, set the size of the swap to the size that corresponds to RAM + 2 GB.
- Select Update Settings.
-
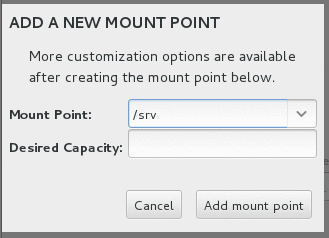
Create the /srv partition:
-
Select the plus (+) icon.
The ADD A NEW MOUNT POINT dialog appears.
-
Under Desired Capacity, use nearly all the available server
space (indicated in the pink box) for the /srv partition by
typing, for example, 284 GiB.
Figure 1. Example of available disk space 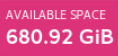
-
Select the plus (+) icon.
- Select Done.
- In the window listing the partitions, check that the partitions are defined as described in Recommended partitioning settings.
- Select .